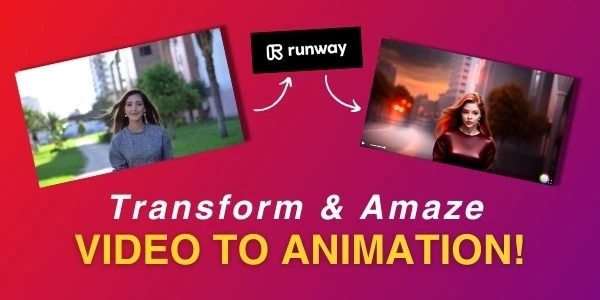
if you want to create cinematic AI videos with Pika Labs, then follow the steps
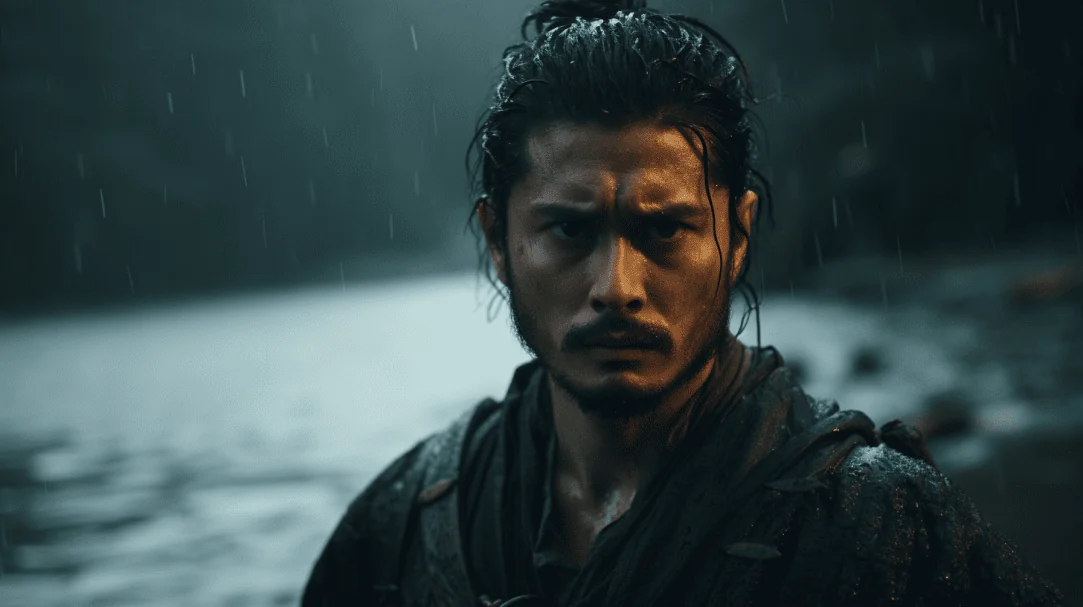
Lets begin by prioritizing the look, which starts with capturing an image. Personally I find that using Mid Journey consistently produces results in achieving this desired aesthetic. While I won’t delve into the details of capturing the cinematic image in this video I have a comprehensive cinematography course that extensively covers this topic. The crucial elements to consider are composition, lens selection, resolution and color grading—all of which must align with your vision.

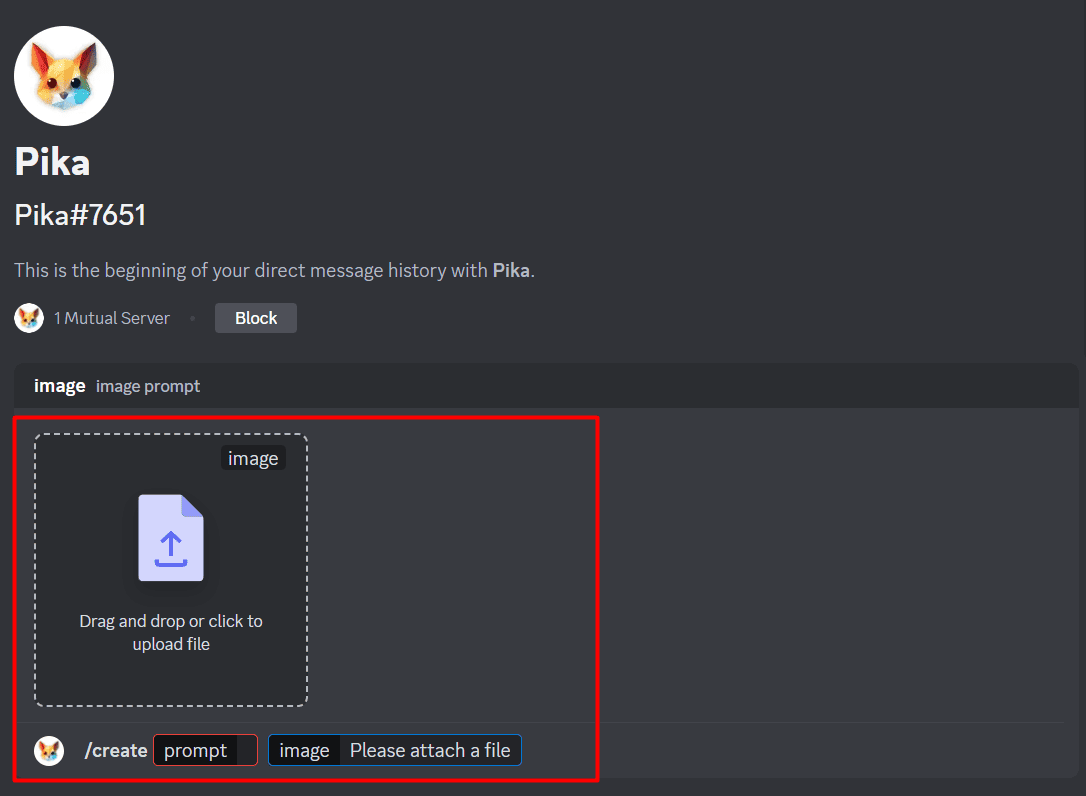
Now that you have your cinematic image ready go over to Pika Labs, in Discord. If you haven’t joined the Pika Discord server yet no worries the link can be found below this video. Once you’re in navigate, to any of the channels (I’ll choose number six). Type “/create.” But hold on a second it’s important to upload your image. Click on the option that says “+ one ” choose your image and simply drag and drop it into the window.
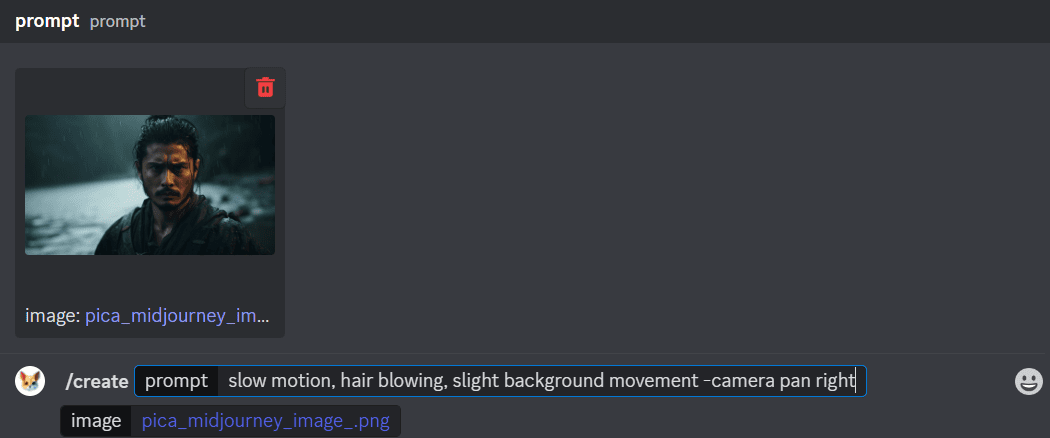
Now that you have your image ready lets dive into the process of creating magic. Start by envisioning the type of action you want to portray in your video. For example if your image features a character with an expression looking towards the right you can enhance the scene by incorporating commands like ” motion ” “flowing hair ” and “gentle movement of clouds, in the background.” However it’s important to be mindful not to go as excessive movement can result in distortion due to the limitations of AI tools.
Additionally, you have control over aspects such as frames, per second (FPS) camera movement, zooming and rotation. If you wish for the camera to pan towards the right simply type “camera pan right.” This way you can customize the camera movements. Create your desired scene.
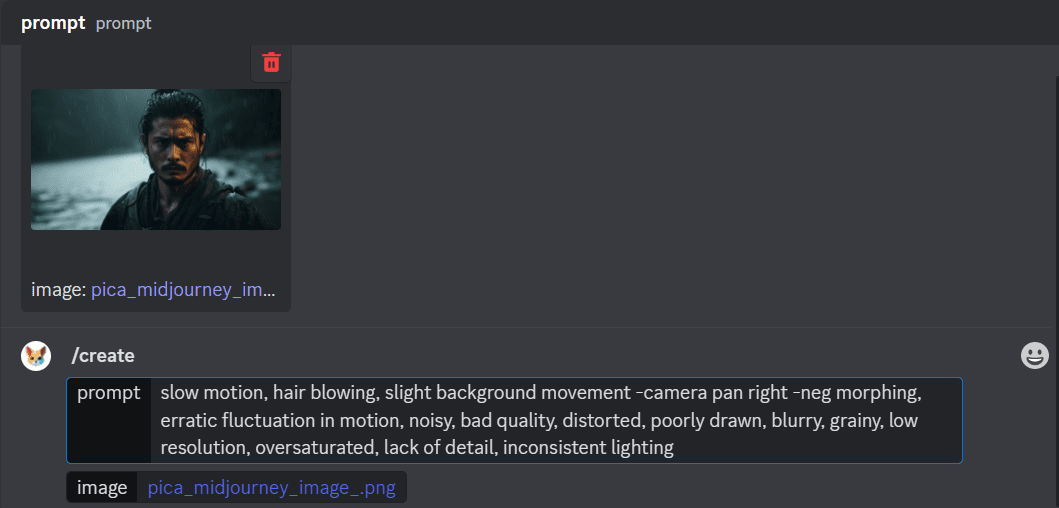
Before you click the “render” button here’s a tip to elevate the quality even more. Include a prompt by typing “Dash and then neg.” This way you can instruct the AI on what to avoid including in the result. You can also use tags, like “noisy ” ” quality,” and “distorted” to ensure that the overall quality remains consistently high. When you’re ready press “enter”. Witness Pikas enchanting abilities.
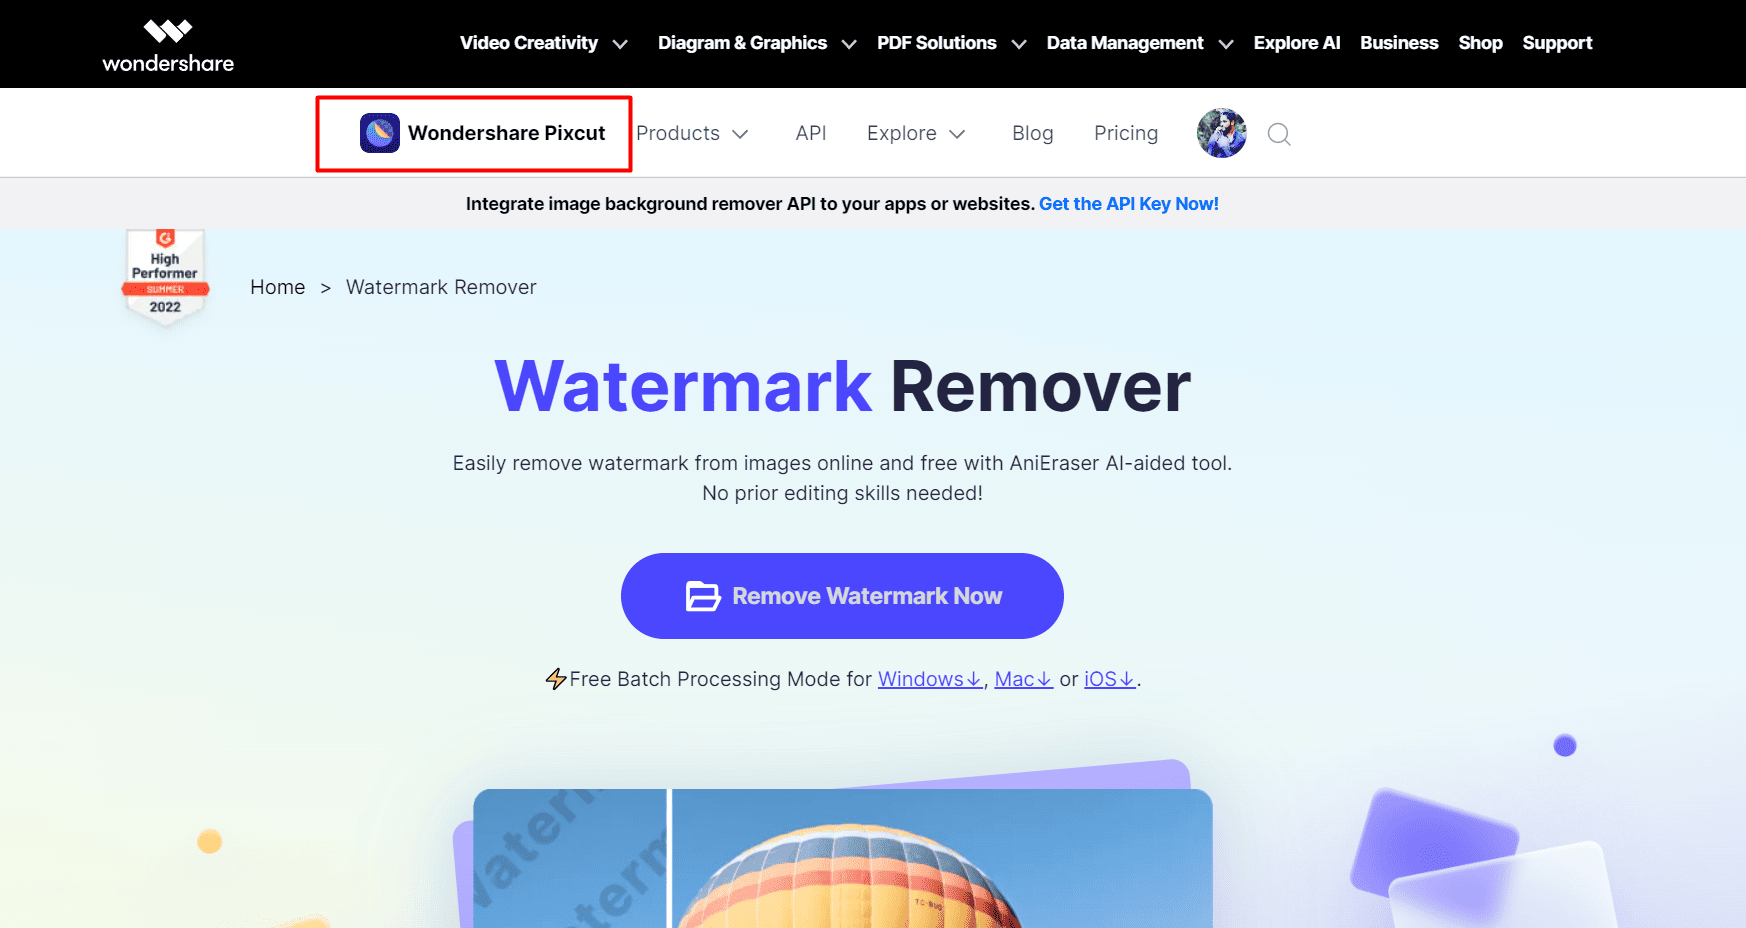
Now lets talk about the watermark problem. Usually Pika videos have a watermark on them. If you want to remove it you can try using a tool called Wondershare Pixie Cut. Just click on the “remove watermark” option upload your video. Use the brush tool to erase the watermark. However keep in mind that this tool might have a price attached to it. So it’s your decision whether you want to go and remove the watermark or not.

Finally the moment arrives to reveal your masterpiece. Watch your video. Prepare to be astounded by the quality you’ve accomplished. You’ll observe hair details, the texture of clothing and a lifelike background blur that truly sets your video apart.
There you have it my friends – a guide, to making cinematic AI videos using Pika Labs. Explore camera tools, experiment with motion settings and get creative with prompts to achieve cinematic outcomes for your unique project.
If you’re craving knowledge on AI filmmaking techniques and trends make sure to subscribe to our channel for the updates. AI is transforming the realm. These innovative tools empower everyone to produce breathtaking films, from scratch. Thank you for joining me today; until we meet again keep crafting those awe inspiring wonders!