Mistakes To AVOID with The Photoshop Generative Fill here’s the list
It’s, like having a wand for your pictures. Generator Fill lets you tweak them the way you want. Of asking for a color switch you can give specific cues like “Imagine a scene with a red sweater.”. When you want to remove something from the image just click generate without spelling out every detail. This approach helps Photoshop understand what you like. It’s, like giving directions to a friend to help them out.


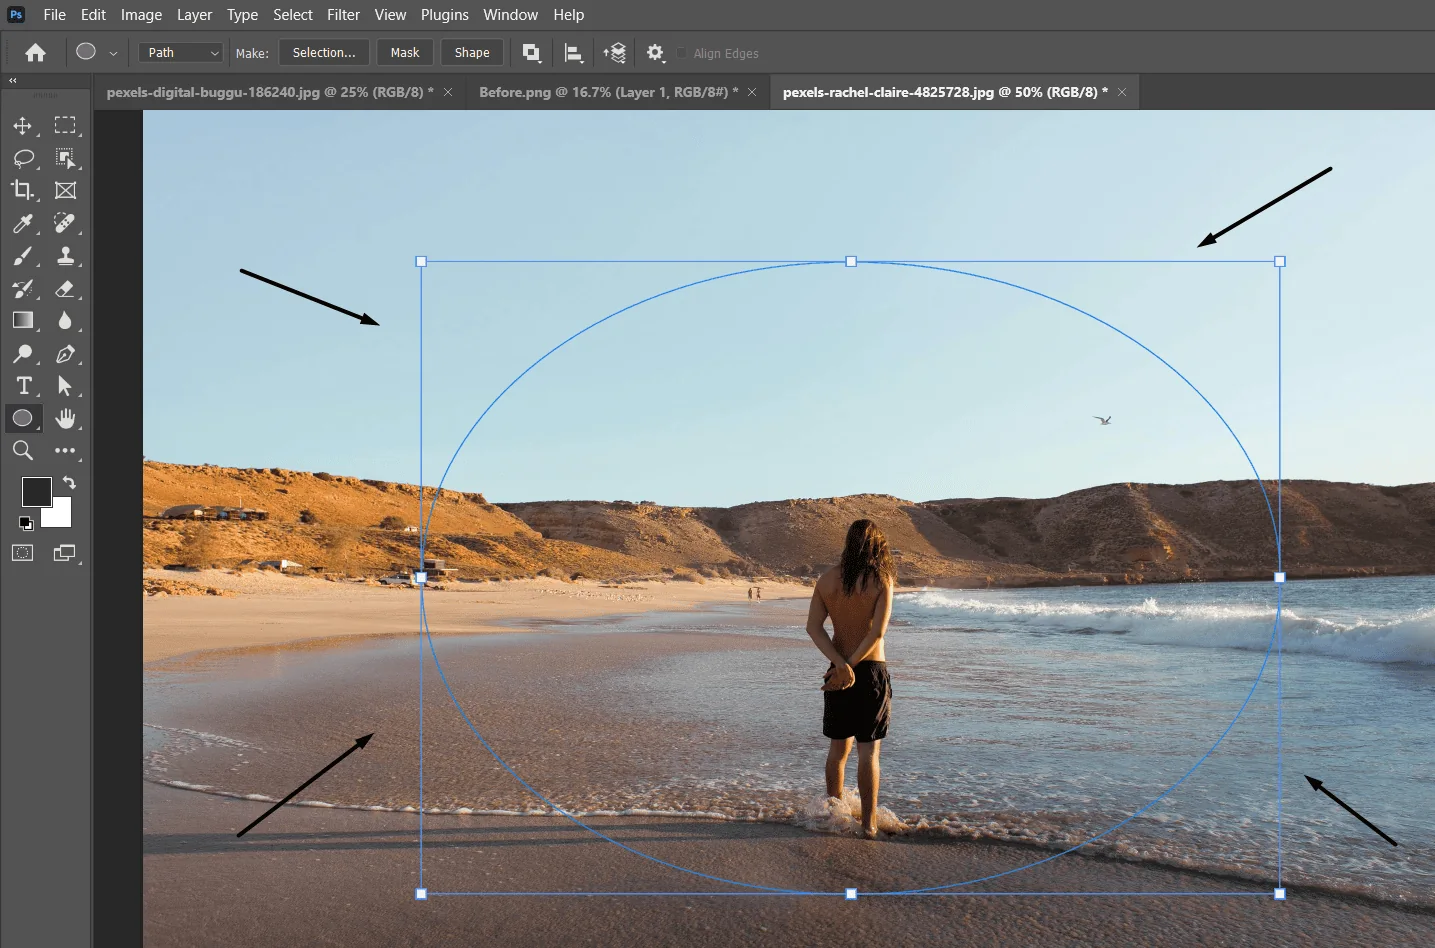
Have you ever given drawing a try? When you start creating a picture do you usually begin by sketching out shapes? In software applications, like Photoshop the choice of shapes you make can impact how the Generator Fill feature functions. For example if your goal is to draw a dog starting with a circle might lead to an image of a dog lying down. Conversely outlining the silhouette of a dog standing and facing left could prompt Photoshop to create that image. Therefore it’s important to think about the shape you draw before using Generator Fill to unleash its power!


The level of intensity is, like choosing how strong you want something to be. For example if you want a rainbow to look bright you might set the intensity to 100.. Sometimes a subtle look at an intensity of 50 could be better. It’s similar, to choosing between an calm vibe. Adjusting the intensity lets you control the end result.


Have you ever experimented with painting a picture and then thought about changing the colors? Adjustment layers, in Photoshop function similarly to those color adjustments. However when using Generator Fill it’s crucial to be careful. Having multiple adjustment layers might lead to confusion, within Photoshop. Its recommended to keep them organized or deactivate them when using Generator Fill.

Generator Fill is amazing. It’s more, than a tool. Picture it as superheroes joining forces to rescue the day! You can merge Generator Fill with Photoshop tools to produce artwork. It’s akin, to using colors to craft a masterpiece.


Hello, to all you people! I have some tips on how to get the most out of Generator Fill in Photoshop. Remember to think about shapes when giving prompts try out intensity levels keep your layers organized and don’t forget the benefits of combining Generator Fill with features. By learning these techniques you’ll soon be creating artwork like a pro, in Photoshop! Keep practicing. Let your creativity soar!